I made my first cheesecake when I was 15. My grandma always made cheesecake for Sunday dinner. She would keep it hidden in the guest bedroom or downstairs on the coffee table, but I knew it was there, thick and baked, topped with cherries (always cherries) and with a perfect graham cracker crust. Waiting until everyone had their fill of noodles and gravy, roast and jello mold. When she passed away, I needed that cheesecake, in part because I was longing to hear her call me Schatzi or Schätzchen in her European accent, but also because I was displeased with the “new” cheesecake so many dining establishments were serving up trying to pass for the real thing, the no-bake cheesecake. Pudding and gelatin on top of a crust. Disgraceful.
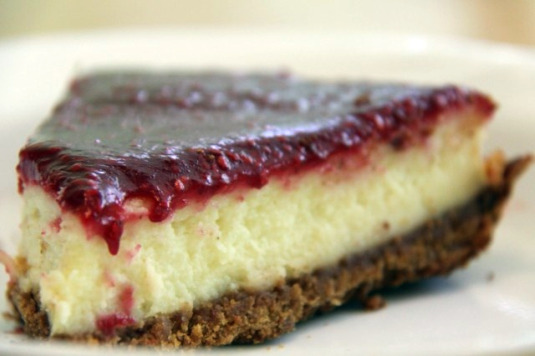
The first part of the cheesecake is its crust, and while not all cheesecakes have them and some cheesecakes have shortbread crusts and other varieties, I was looking to recreate my grandma’s cheesecake, a traditional, no-frills cheesecake with the graham cracker crust, and while it wasn’t hard to come across a recipe or 2 – or 10,000 – for a traditional cheesecake, most of the recipes tell you to press the crumbs in the bottom of the springform pan with your hands. Ever the perfectionist, this was not going to do. The crust always seemed to give where I pressed my fingers last, and there were areas that inevitably crumbled easier than others. I wanted a crust that sat along the bottom of the piece when cut, a crust that you could call a crust and not a pile of crumbs.
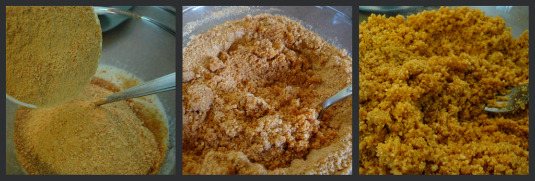
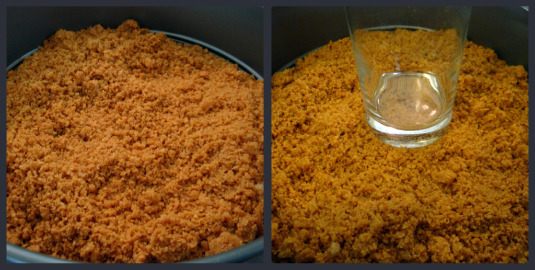
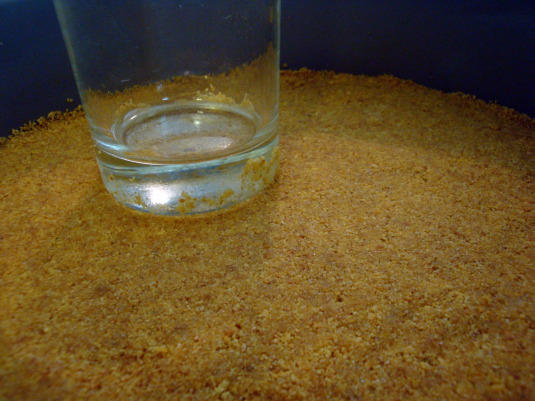
Pour your crumbs into your pan or pie plate and shake gently to evenly distribute. Find a flat-bottomed glass. Introduce it to your crumbs.
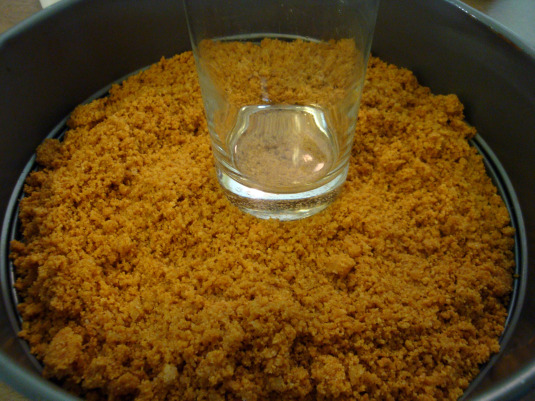
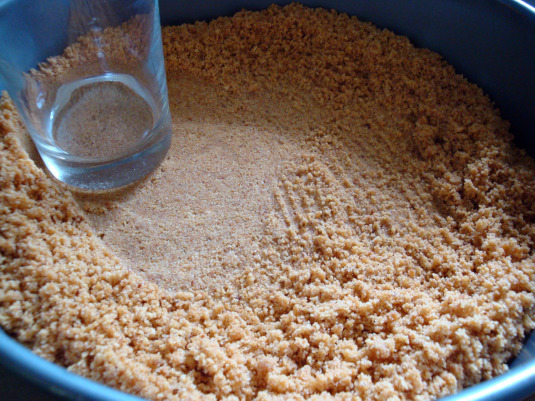
Start in the middle and press down crumbs, working to the sides.
Keep pushing until your crust is evenly flat all the way around. Unless…
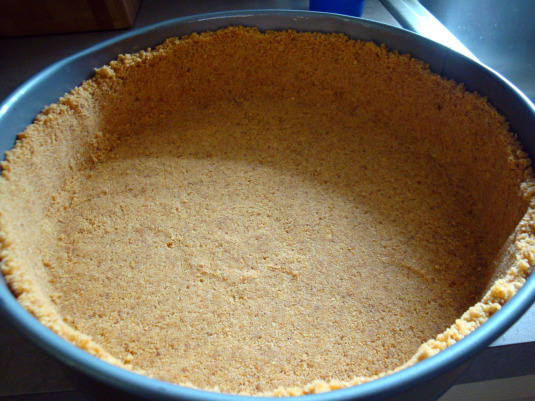
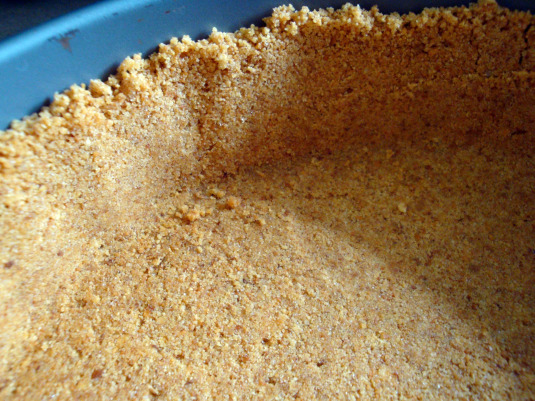
…you’re looking to have sides. Sides can be nice. I like sides, but I’m kind of a “more crust, less cheese” cheesecake eater. For sides, make an even layer of crust and then, with the bottom of the glass, push a layer off the top to the edge of the pan. Then resume pressing down the crust in the center with the bottom of your glass.
When you get to the sides, press the glass to the side and squash the crumbs up against the edge. To keep it even, if one side looks higher than the others, level it with your finger while pressing the glass up against it. Keep going until you’ve gone all the way around your pan.
And that’s it. You have a flat crust, perfect for dumping your favorite creamed solids on, whether it be French silk pie or New York cheesecake.
You can use any crumb crust recipe for this technique, but my favorite is the variety beneath the cheesecake. I’ll see you tomorrow to let you know which cheesecake could stand next to my grandma’s.
For more helpful kitchen tips, visit Tammy’s Recipes Kitchen Tip Tuesdays.



Love the idea of using a glass for flattening!!